Starting from where I left off in part one (Full Circle) we had just started redesigning the trunk setup and talking about front camber. Since then I’ve finished installing the first variation of the trunk design as well as all the new suspension components. From then till now I’ve learned quite a bit more about the car and about myself. With regret I do admit that I failed to accurately document everything that had been done. Nonetheless, lets go through the little photos that I did take.
In the eight months that have passed I’ve driven the car for about six. I spent a little over a month “finishing” (not a good word to use around the GF) up everything for our anniversary meet in Las Vegas, Sin City Affair.
- Finish front suspension assembly
- Install front suspension assembly
- Finish rear suspension assembly
- Install rear suspension assembly
- Finish designing trunk setup
- Install new trunk setup
- Alignment
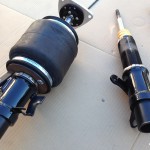
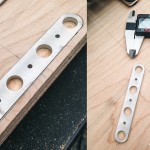
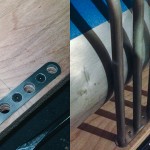
Finishing the front suspension assembly was simple but with fault. The issue that I had with the compressed bag height had been combated with shortening the body of the lower strut mount, thus allowing the lowest point of the bag to be lower then before yielding the full travel of the suspension. However this also meant it required more pressure to raise the suspension to my previous driving height. The tophats required some finishing but really all that was left was to press in the studs. New top bag mount plates were water jetted and I ended up using my old lower bag mount from my previous setup. Last minute I decided to make some endlinks which were just some rod endings and stainless steel threaded rods. With the front suspension complete and installed I was able to put the front subframe on the ground which was what I was looking for, however the drive height was just too low. So now I’m stuck fine tuning the bag height as well as the strut length to get the most efficiency out of this setup. Nothing I’m not use to but a choir none the less.
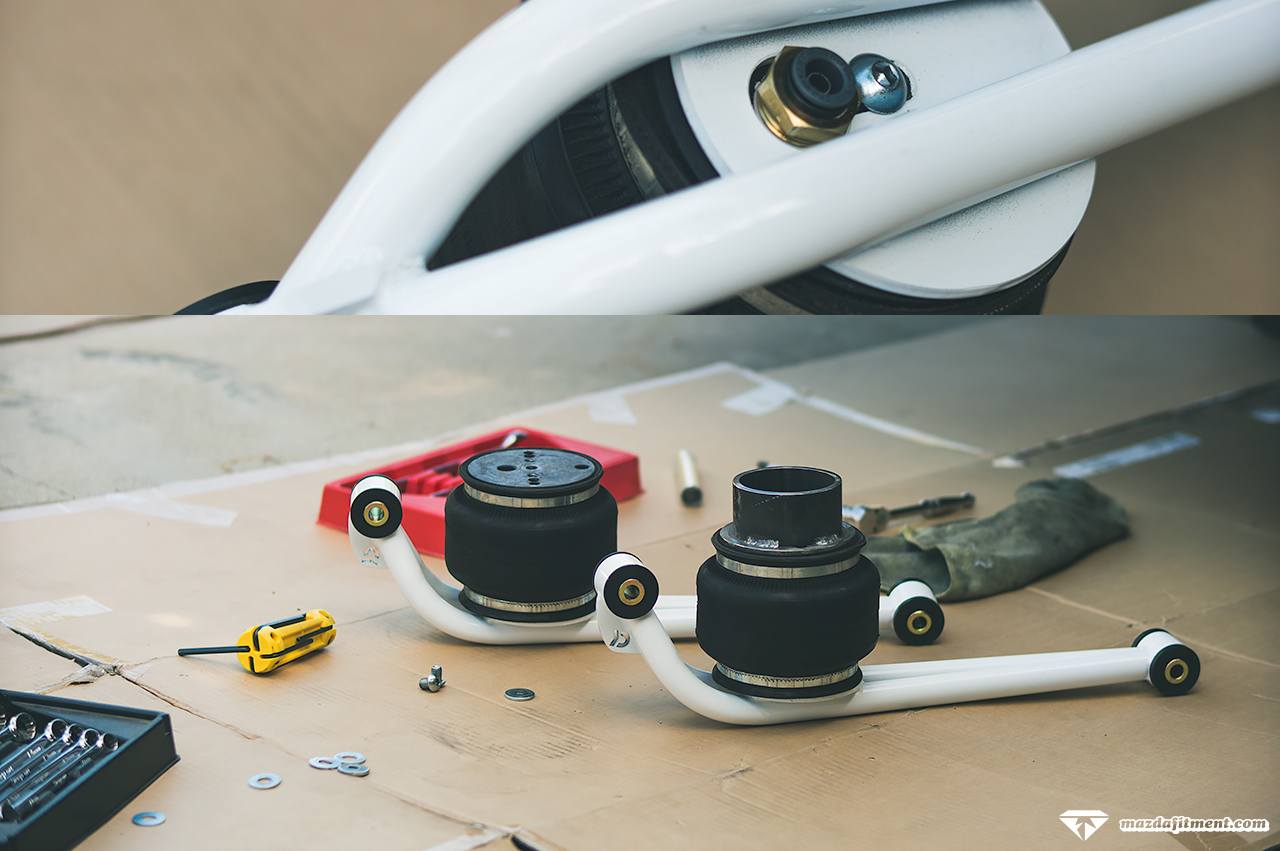
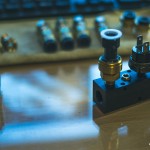
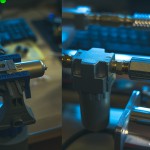
The rear suspension was much more straight forward. All that was left was to make new mounts and install. I recycled the front bags mounting plates by re-drilling the bolt holes and welding a pipe to keep the bag concentric with the upper spring seat. I over estimated on the length of the pipe so that it could be cut to the correct length at a later time.
After looking over Dominic‘s design of the LCA it was obvious that I was going to have issues. The center bolt hole and the opening for the fitting on the mount were designed for a different bag, and even if it were to have been correct there was no space to install a fitting while the bag was bolted. My only solution was to slot the bolt hole, use a straight fitting and a elbow press to connect fitting.
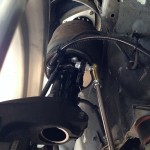
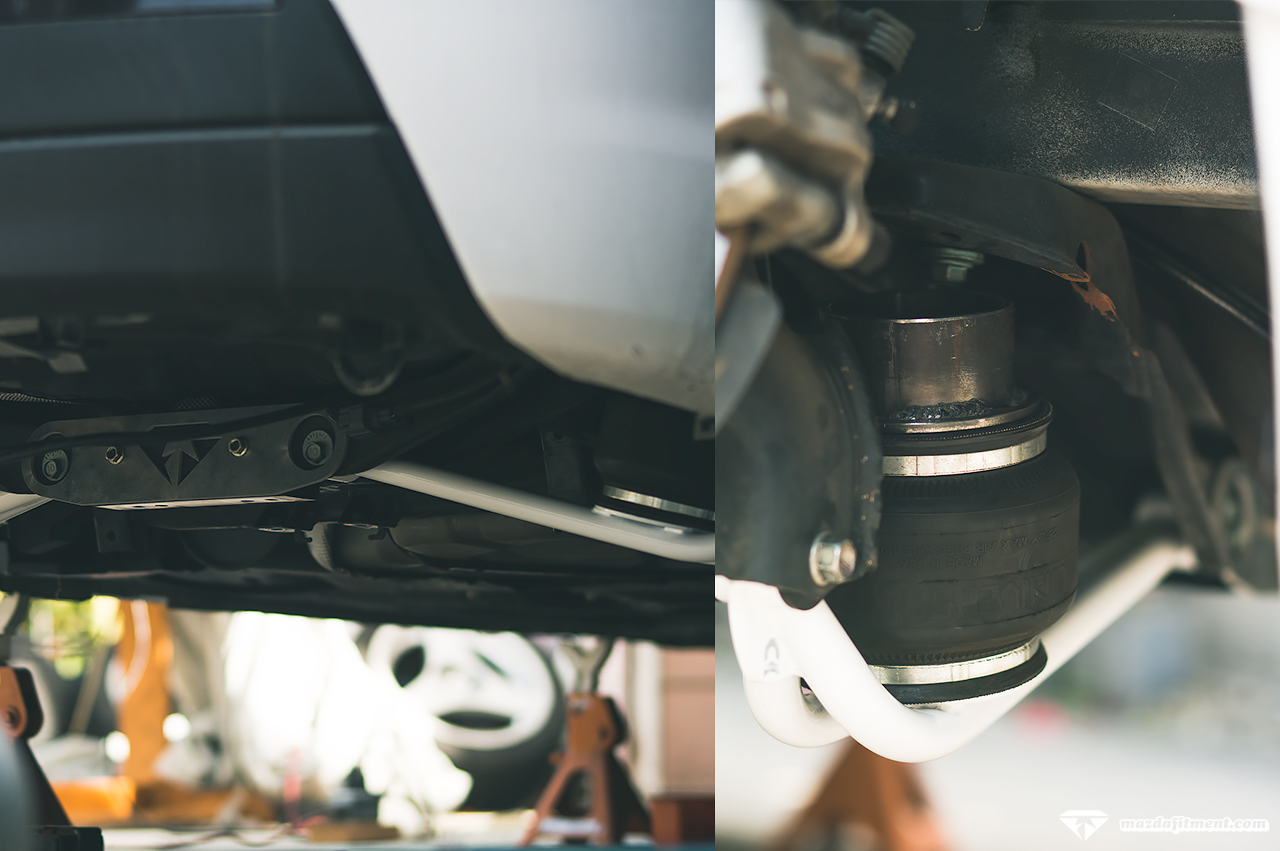
Another issue I had with the design is that the bag is no longer perpendicular to the sub frame. Meaning it sits at an angle and uses the flexibility of the bag to align to the spring seat. You can see from this picture the gap between the mount and the seat as well as the bags permanent angle. Airing up the rears was a bit nerve racking the first time as you weren’t sure if the bag seated properly or not. The only way you could tell was from the thud of the bag mount forcing its way into the seat.
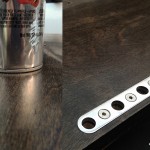
I needed a break so for fun I had a simple finishing panel water jetted with my logo. This isn’t the final design so look forward to that when its done.
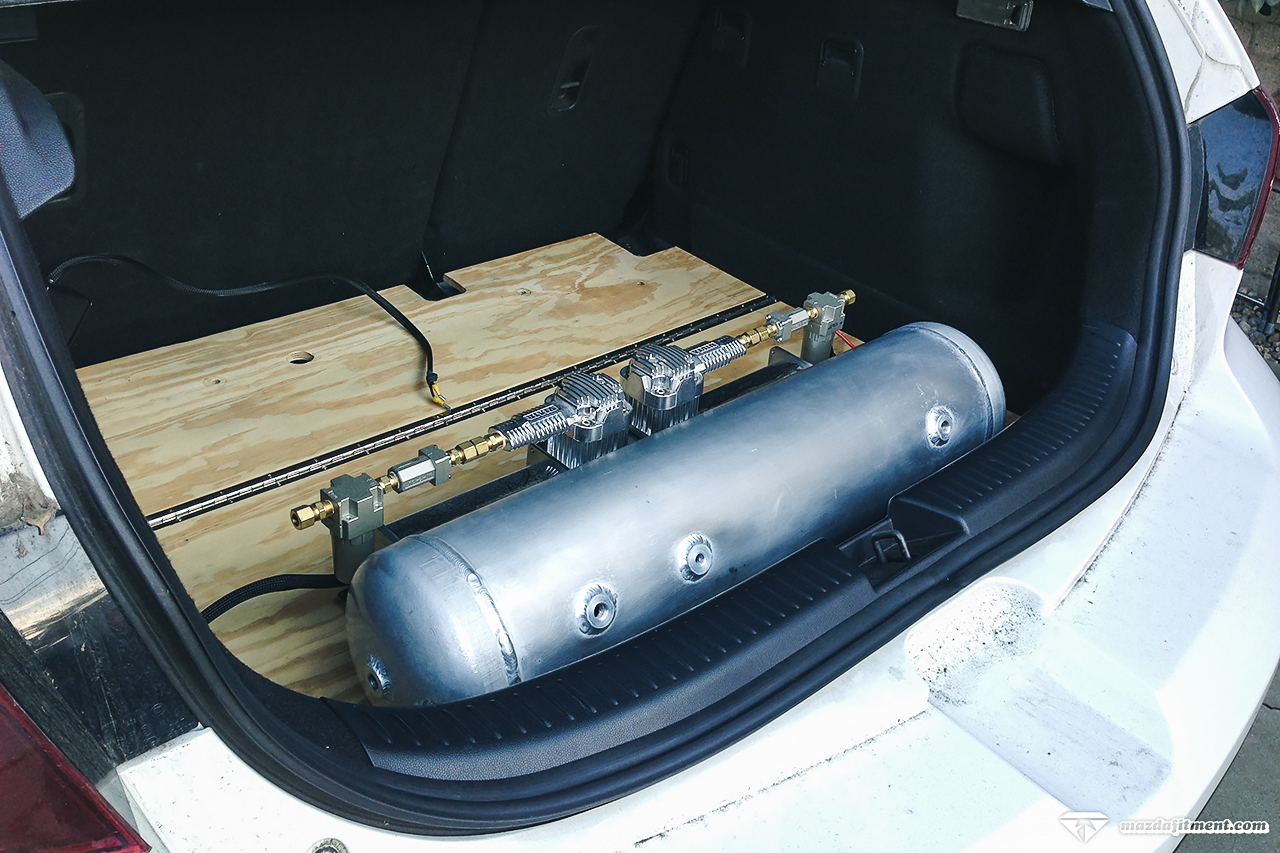
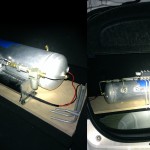
I had the most fun with the trunk design but I really veered away from my original intentions which were to build “an aluminum frame to house the whole system. I also planned to make it plug and play so I can pull the system out and work on it outside of the car when I needed to.” With deadlines quickly approaching I ended up free styling. As with most all of my design work it starts as a 3D CAD sketch. I took rough measurements of all my parts and drew them in Autodesk Inventor. This lets me accurately design my layout and lets me have fun which is most important. After a day of designing I was satisfied with this design.
In my mind as well as in CAD it looked like everything would fit. I couldn’t really find any reason not to use the design so I went with it. Once I started assembling the design however It seemed that I had underestimated a few dimensions. It wasn’t going to fit the way I had originally designed it.
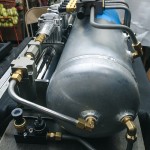
To solve my problem I turned the layout 90° and off we go. I started laying out parts on birch plywood and before I knew it I had completely assembled the layout. I added a few custom touches to dress up some parts. The 4 main airlines meet at a central area at the base where its finished by a polished aluminum inlay. Additional to that I also made tube clamps to guide the hard lines. For the birch I went with an ebony stain with a water-based poly top coat. I attempted to polish the top coat by hand but ended up with a hazy semi gloss instead. It came out okay but if I were to finish it again I would definitely be more patient.
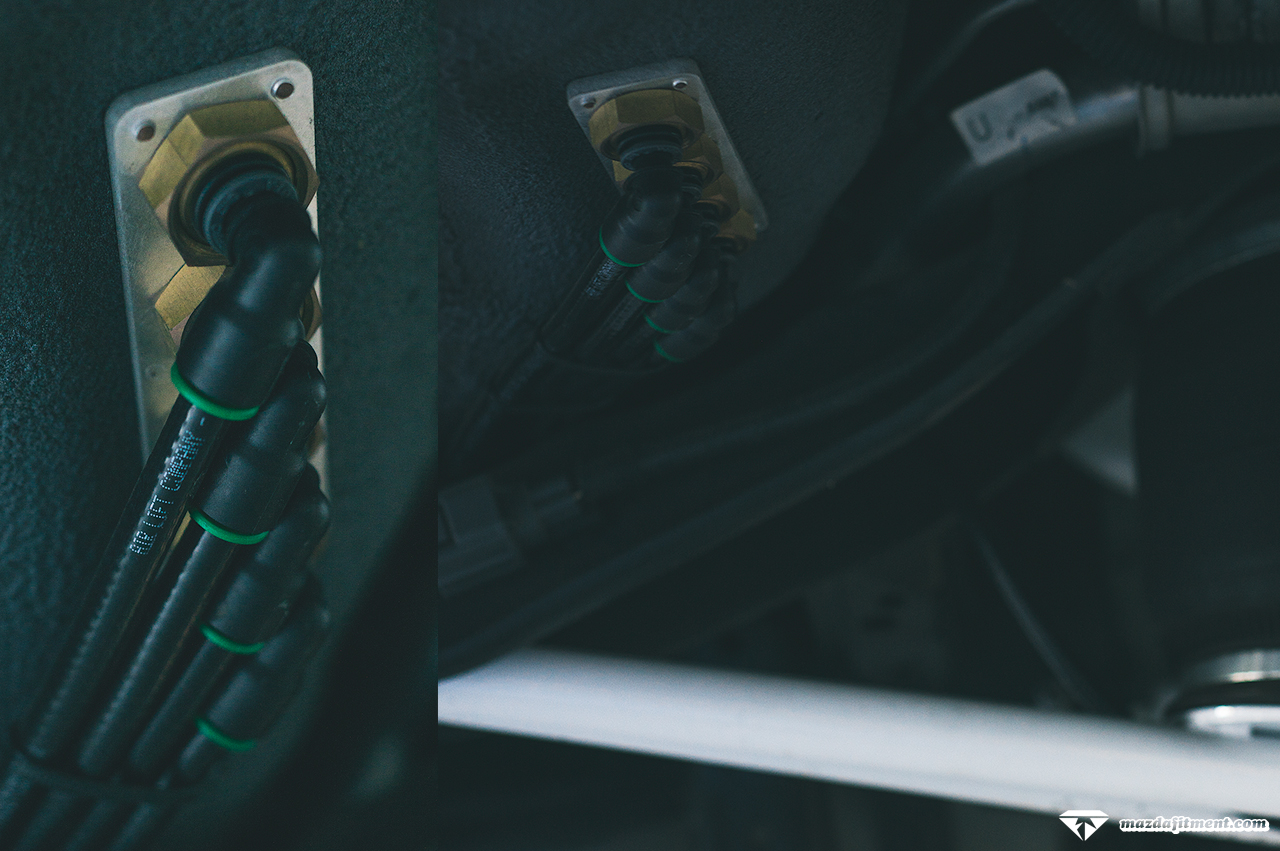
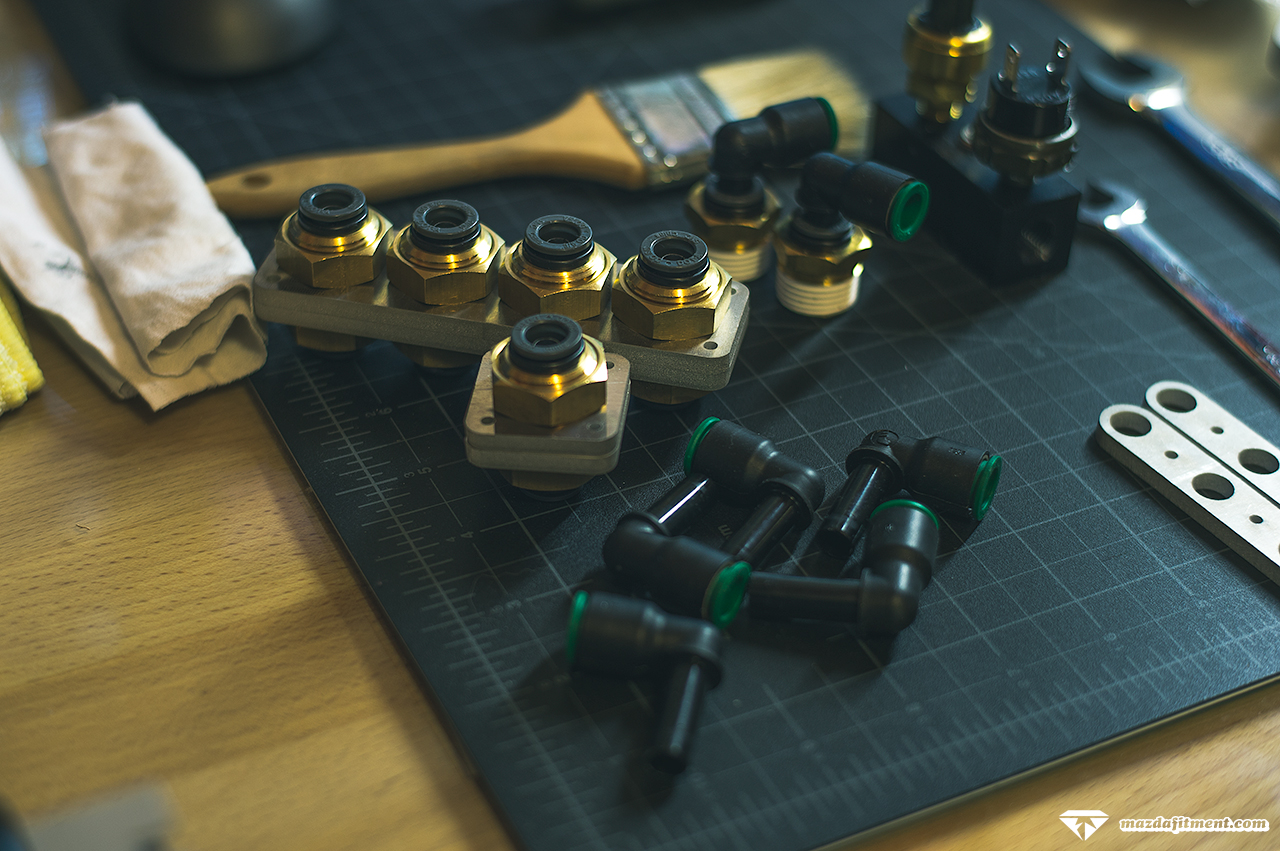
Finishing the trunk setup from this point was wiring and running the 4 main airlines outside of the car. From the 4 main hard lines I use couplers which are hidden under the wooden base and converts from hard lines to soft lines. To keep things neat I also made a bulk head mounting plate which gets riveted in place.
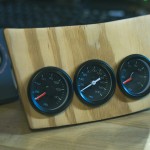
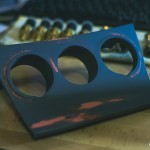
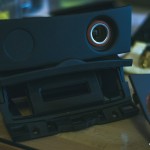
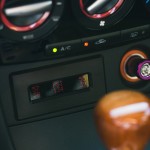
Wiring for the new set up is straight forward since most of it is inherited from the previous setup. A custom wire harness needed to be made for the new digital gauge and most of the existing harness needed to be extended. I got rid of the analog gauges to help nullify any possible leaks, but here is a short evolution of how the gauges were mounted and how I had planned to mount the digital gauge. I originally wanted to build a mounting plate for the new digital gauge to fit in the ash tray but again with the deadlines I copped out and mounted it in the most convenient place.
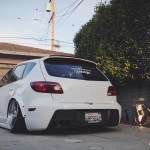
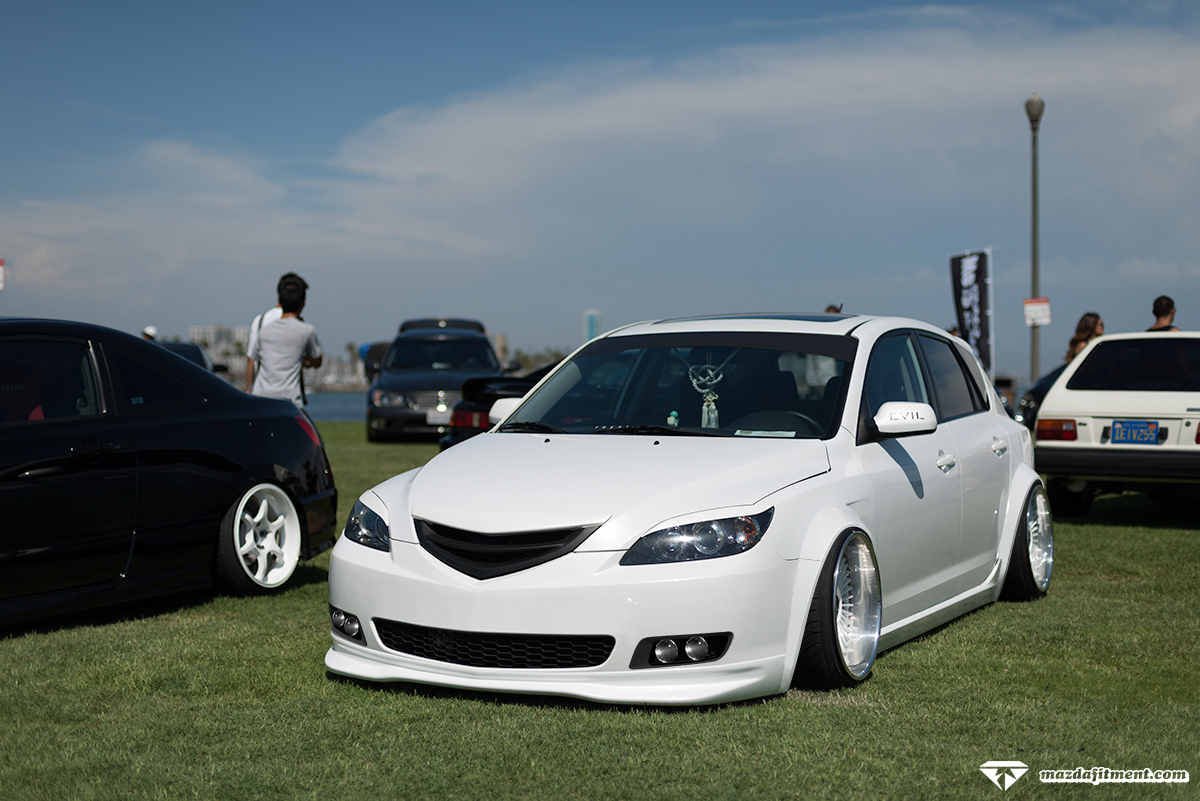
The car was now ready for the meet but my wheels weren’t. If you remember from part 1 I was teasing my next wheel setup (which is for sale by the way), they fit but I just didn’t want to rush it for the meet. So instead I took my original Work Voggards and gave them some new life in a full brush finish. Obviously they don’t fit even with the 30mm spacers that I used all around but something about those wheels always get me.
—
Teaser
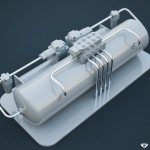
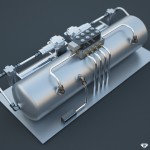
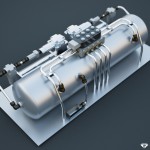
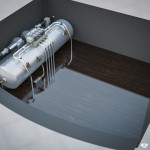
Here is what the future may hold. (this is a concept render I did)
As always progress is on going and how much further its going to progress is up in the air. She is in the worst shape she has ever been and needs a lot of TLC. Hopefully in the next update we will be closer to the end. Until then Thanks again to everyone for showing love and everyone who supports me in my pursuit. 2014 isn’t over yet so I’m going to try and get some more done before the end of the year.
— Rocky W.

